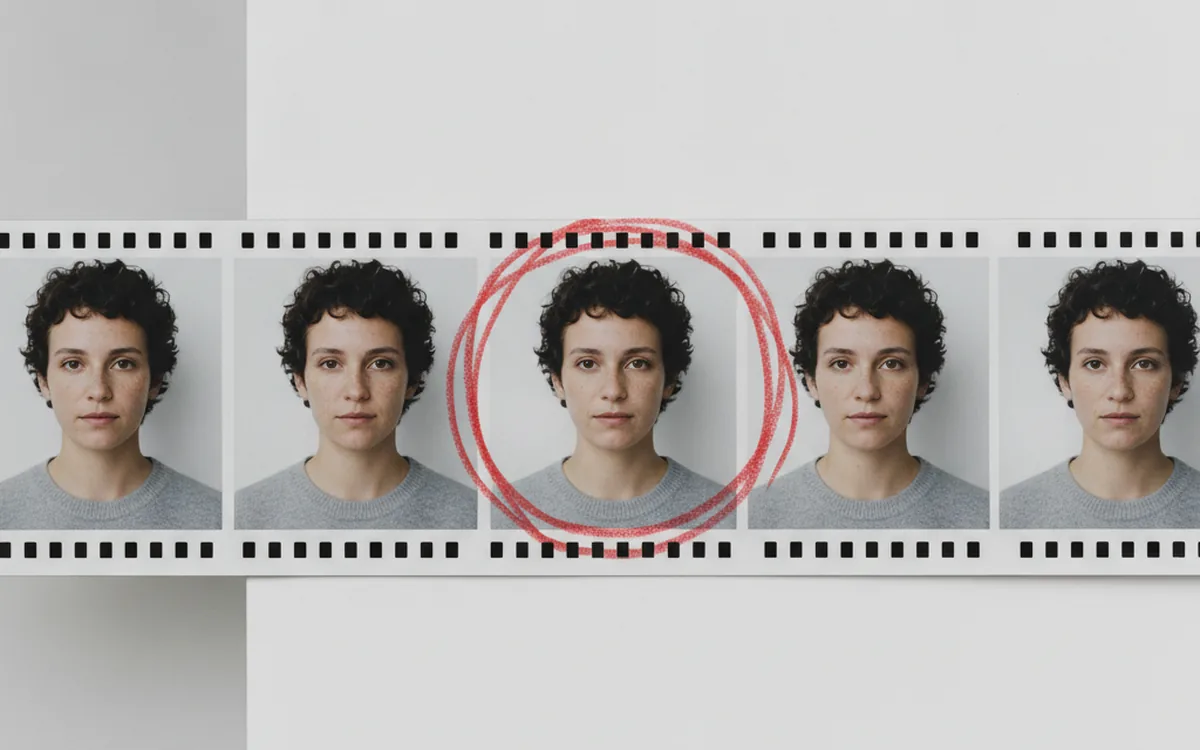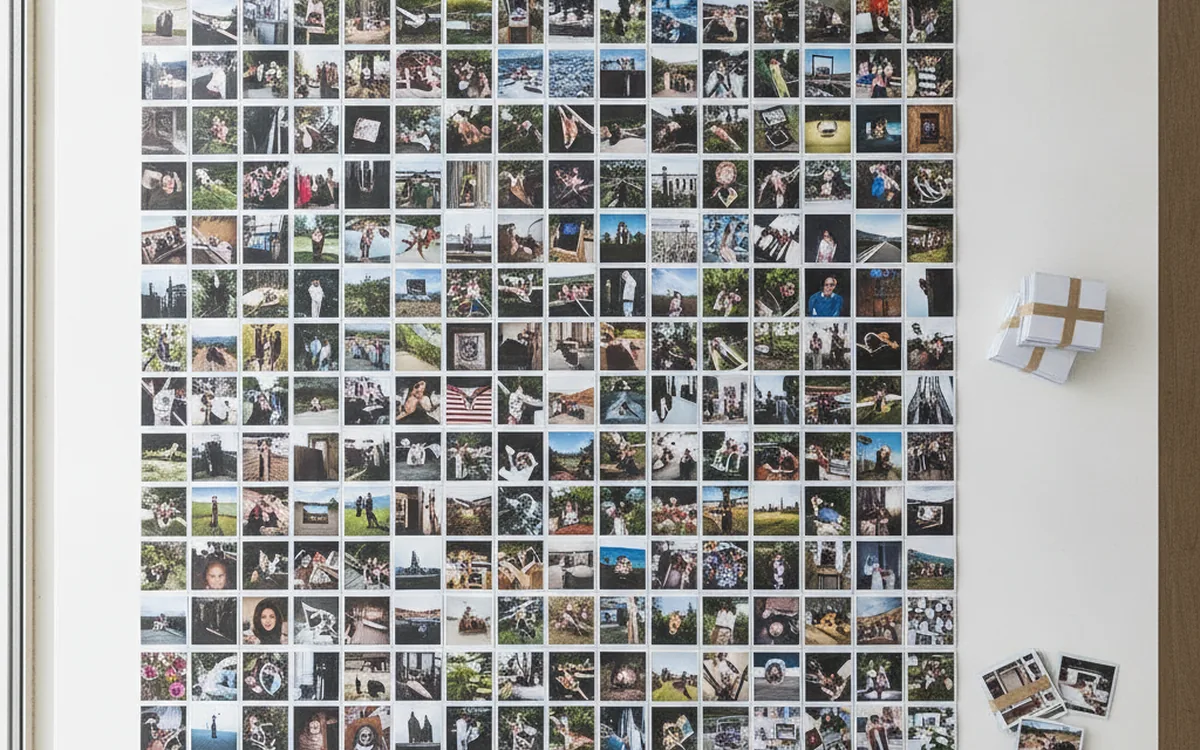
A photo archive grows quietly. A memory card gets copied to a drive “just in case,” then the same set lands in a project folder, then in the cloud, and a couple of years later it gets imported into your catalog again after an OS reinstall. The result: one shot lives in four places, eats disk space, and gets in the way when you cull.
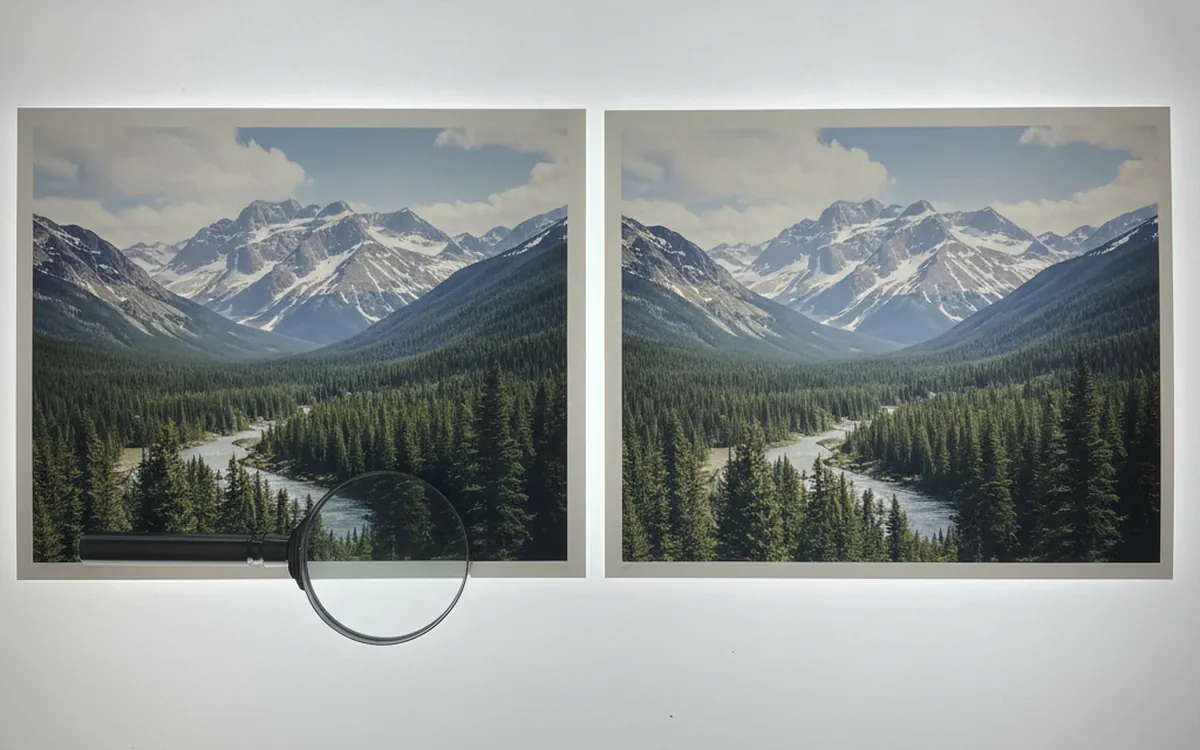
Exact copies are easy to deal with. Near-duplicates are harder: one shot was downsized to send by email, another had its brightness nudged up, a third was re-saved as a JPEG at a different quality. To a person, that’s one photo. To the file system, it’s three different files with different sizes and dates.
Below we walk through the comparison methods, their strengths and weaknesses, and a workflow that keeps an archive cleanup from turning into the loss of your only original.
Three levels of comparison
Byte-by-byte comparison
The strictest method: two files are read side by side and compared byte for byte. If every byte matches, it’s the same photo, down to the EXIF metadata. This method never produces false positives, but it only finds literal copies. All it takes is a photo viewer writing a rating or keyword into the file, and the copy no longer counts as a copy.
Comparing every file against every other file is expensive, so files are grouped by size first. Files of different lengths can’t be byte-identical, so most pairs get ruled out without reading their contents at all.
Checksums
Instead of comparing pairs, you compute a hash for each file (MD5, SHA-1, CRC32, or another) and look for matching values. This works well for large archives: the checksum is computed once, can be stored, and can be checked against new incoming files. It’s essentially the same byte-by-byte comparison, just with better scaling. The limitation is the same, too: change a single byte and you get a completely different checksum.
Perceptual hashes
To find similar images, you compare the picture, not the file. The image is shrunk down to a tiny grid, say 8×8 or 16×16 pixels, converted to grayscale, and each cell is recorded as either lighter or darker than the average. The result is a short fingerprint a few dozen bits long. A downsized copy, a shot with tweaked brightness, or a recompressed JPEG barely changes that fingerprint, because the overall pattern of light and dark areas stays the same.
Two fingerprints are compared by counting the bits that differ (the Hamming distance). Zero differences means the images are visually identical; a few bits means they’re very similar; beyond that, you’re in territory where a human needs to make the call.
Similarity threshold: where to draw the line
The key setting in any near-duplicate search is how similar two images must be to land in the same group. A strict threshold will show only obvious copies and miss some of the downsized versions. A loose one will lump together frames from a single burst: five shots of a kid blowing out birthday candles, half a second apart. Technically they’re nearly identical, but nobody wants four of them deleted automatically.
The sensible approach is to go from strict to loose:
- First pass: exact matches only. You can work through these almost without looking.
- Second pass: a high similarity threshold. This is where downsized and re-saved versions show up.
- Third pass: a lower threshold, but for review only. It helps you find bursts and pick the best frame, not delete in bulk.
Keep in mind that perceptual hashes don’t handle cropping well. A shot cropped to a square for social media may not turn up at all: the pattern of light and dark areas has shifted, and the fingerprint changed with it. Some tools check 90-degree rotations separately, but cropping remains a weak spot for most methods.
Why stock collections are full of duplicates
If you’ve ever assembled a library from several stock sites or old collection discs, you’ve seen this at full scale. The same image arrives in three resolutions: preview, web, and print. One distributor sharpened it slightly before publishing. Another added contrast or converted the file to sRGB. In a client’s archive, the same shot sits there both with and without a watermark.
Every one of these operations changes every byte of the file, so checksums are useless here. But the overall pattern of the image survives, and perceptual comparison reliably groups these variants together. The more sources you merge into one library, the more groups you’ll find of several versions of the same shot that differ only in size and minor color correction.
Which version to keep
- The highest resolution, if the others were derived from it by downsizing.
- The file without a watermark or borders.
- A lossless format (TIFF, PNG) or RAW, if you have it, rather than yet another re-saved JPEG.
- The version with complete metadata: the capture date and camera model come in handy when sorting.
A safe deletion workflow
Mistakes in duplicate cleanup are almost always irreversible, so the order of operations matters more than the choice of algorithm.
- Back up the archive, or at least confirm your latest backup is current.
- Run the search and review the groups. Don’t trust a “keep the first match” rule: the first match might be a preview from a cache.
- Don’t delete. Move the extra files to a separate quarantine folder, preserving the original directory structure. That way it’s easy to see where a file came from and put it back.
- Work with the archive for a week or two. Open folders, check albums, projects, and links in your layouts.
- Only then empty the quarantine.
Pro tip. Before a big cleanup, save the search report (the list of groups with full paths) to a text file next to the quarantine folder. If a month later it turns out a file you needed is gone, the report lets you find its match in a minute and see which decision was wrong.
Pay special attention to files that are part of something bigger: source files in project folders, frames for panorama stitching, bracketed exposures for HDR. Technically they may match copies in your main archive, but deleting them from a project folder will break the project, and you won’t notice until the next time you open it.
How DupDetector handles it
DupDetector covers both tasks: it finds exact copies and near-exact duplicate images in the folders you choose and shows the matches for review. The call on each one stays with you. This is slower than “delete everything found in one click,” but it’s exactly what keeps your originals safe. For a large archive, it helps to run the search on a single folder first, get a feel for what the program considers similar, and only then widen the scope.
The bottom line
Find exact copies with checksums and similar images with perceptual comparison at a sensible threshold. Start with strict settings, keep the highest-quality version, and never delete right away: a quarantine folder and a couple of weeks of waiting cost far less than recovering a lost shot.