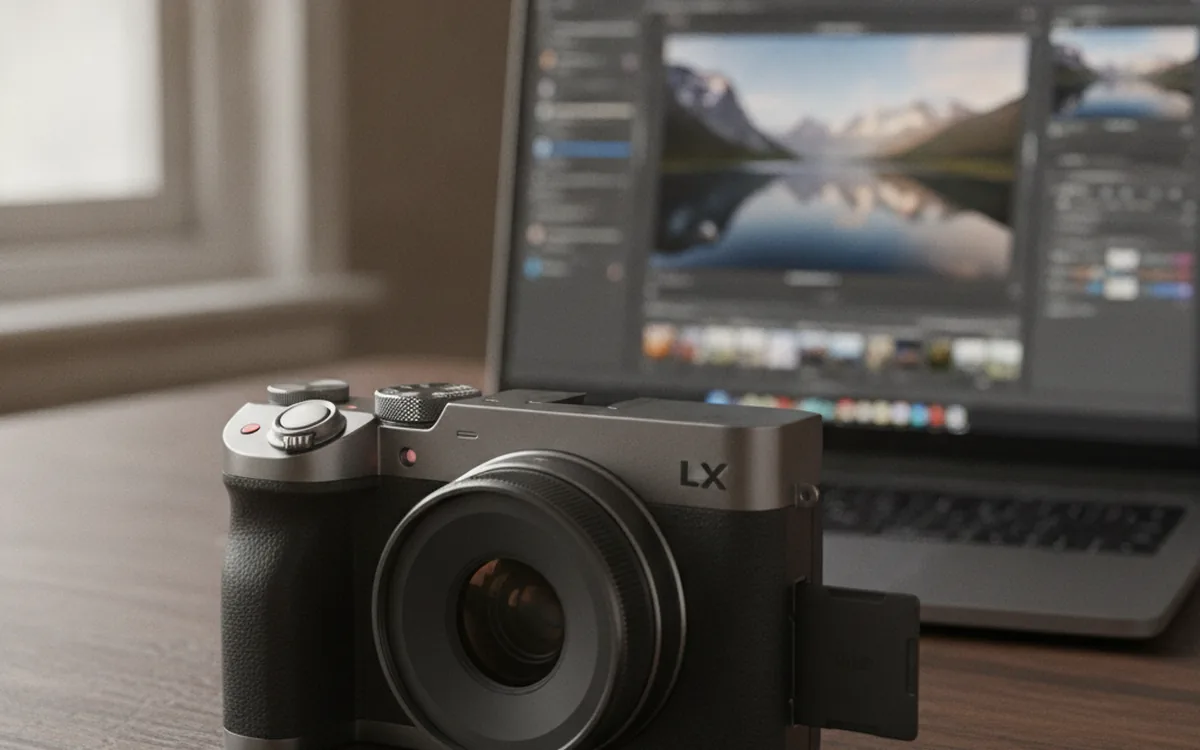
When a photographer switches the camera to RAW, they stop getting a finished picture. Instead, the card receives a record of what the sensor captured: brightness values under each color filter, plus technical data about the shot. It only becomes an image after it’s developed, and the outcome depends on what software does the developing and how.
Every manufacturer has its own container and its own habits. Canon writes CR2 or CR3, Nikon NEF, Sony ARW, Fujifilm RAF, Olympus and OM System ORF, Pentax PEF. Alongside them sits DNG, an open format that some cameras write natively and that other files can be converted into. From the outside, it’s all just called RAW, but on the inside there are plenty of differences.
Below: what’s inside such a file, why you can’t treat it as the final result, and how to organize conversion when you’re dealing with several thousand shots instead of a dozen.
What’s actually inside a RAW file
Most camera sensors are covered by a mosaic of color filters, usually in a Bayer pattern: for every four photodiodes, two are green, one red, and one blue. Each element only knows the brightness in its own color. A full-color pixel appears later, during demosaicing, when the software reconstructs the missing channels from neighboring ones. Fujifilm’s X-Trans sensors work differently, with a more complex 6×6 pattern, so RAF files require a separate algorithm.
Besides the sensor data, the file typically contains:
- An embedded JPEG preview. This is what the camera screen and many viewers display, which is why the shot looks finished at a glance.
- EXIF metadata: shutter speed, aperture, ISO, focal length, camera and lens model, capture date and time.
- Manufacturer-specific tags (maker notes): picture style, lens corrections, autofocus data. Some of these are documented; some remain proprietary.
- White balance coefficients set at the moment of capture. They aren’t baked into the pixels but stored alongside them as a recommendation for the converter.
Containers: how CR2 differs from CR3
CR2 is built on the TIFF structure, as are NEF, ARW, ORF, and PEF. CR3 is different: it’s a container in the style of ISO Base Media, a relative of the MP4 video format. The practical consequence is simple: an older program that reads CR2 just fine may not open CR3 at all. The same thing happens with new models within a single format when the manufacturer changes its compression method. If files from a new camera won’t open, the cause is usually not corruption but missing support for that specific model.
DNG as the common denominator
DNG was designed as a documented specification for long-term RAW storage. Some cameras, such as a number of Pentax and Leica models, along with many smartphones, write DNG directly. Other files can be converted to DNG. The upside is clear: the format is publicly documented and will still be readable many years from now. There’s a downside too: some proprietary manufacturer tags may not carry over during conversion, and the camera maker’s own software will no longer open those files.
Bit depth: where your editing headroom comes from
JPEG stores 8 bits per channel, or 256 levels. RAW files from most modern cameras record 12 or 14 bits, which is 4,096 and 16,384 levels respectively. You won’t see the difference on screen right away: a typical monitor shows about 8 bits anyway. It shows up when you start lifting shadows, rescuing a bright sky, or changing contrast.
On a JPEG, edits like these quickly give themselves away. Banding appears in smooth gradients, shadow noise turns muddy and colorful, and highlights merge into flat patches. In RAW, the same one- or two-stop exposure shift usually goes through without visible traces, because there are enough intermediate values.
Linearity deserves a separate note. A sensor responds to light linearly, and half of all RAW levels go to the brightest stop of exposure. That’s why, when shooting RAW, it makes sense to expose toward the right edge of the histogram, but not past it: there’s little data in the shadows, and lifting them is harder than gently pulling down the highlights.
White balance and other decisions you can defer
When it saves a JPEG, the camera makes a dozen decisions on its own: white balance, contrast curve, saturation, noise reduction, sharpening. All of it is irreversibly baked into the pixels. RAW defers those decisions until conversion.
White balance is the clearest example. You shot in a gym under mixed lighting, and the whole series came out green. With JPEG, fixing it means repainting colors that are already set. With RAW, you simply choose a different color temperature, as if the camera had been set correctly from the start.
The same goes for picture styles. A monochrome, vivid, or neutral profile is stored in RAW only as a suggestion. The converter may honor it or ignore it. That’s why the same frame looks different in different programs.
Pro tip: before shooting a series indoors, take one frame of a gray card or a clean sheet of white paper under the same light. You can later set white balance from it and apply that value to the entire series in one step, with no eyeballing.
Why conversion matters and what to convert to
RAW isn’t meant for publishing. Browsers won’t display it, it’s awkward to send to a client, and many print services won’t accept it. Sooner or later you need a JPEG for viewing and sharing, or a TIFF for printing and serious retouching. The question isn’t whether to convert, but to what and with which settings.
- JPEG works for the web, email, culling, and viewing on a TV. For client delivery, use high compression quality; for previews, you can go lower.
- 16-bit-per-channel TIFF serves as an intermediate file for retouching and printing. It’s heavy, but it preserves tonal headroom after development.
- 8-bit TIFF is appropriate for layout and prepress when no further edits are planned.
Create each output file from the source for its specific purpose, not a JPEG from a JPEG. Every lossy re-save adds new artifacts.
Batch conversion and archiving your originals
How not to drown in a thousand files
After a wedding, an on-location shoot, or a vacation, you end up with hundreds or thousands of RAW files on the card. Developing each one by hand only makes sense for your selects. For everything else you need a batch process: the same operations applied to the whole folder.
In PhotoBatch, you do this with a script. A typical chain for delivering client previews looks like this:
- Open a folder of RAW files from Canon, Nikon, Kodak, Fuji, Olympus, Pentax, or Sony cameras.
- Rotate frames based on EXIF orientation so portrait shots don’t end up on their side.
- Downsize the images along the long edge to a convenient viewing size.
- Add a caption or watermark if needed.
- Save as JPEG to a separate folder, leaving the originals untouched.
- Rename the output using a pattern with the capture date and a sequence number.
The script is saved and reused. The golden rule: write output to a new folder. A batch operation accidentally aimed at your originals turns into very fast data loss.
One more subtlety: if the converter doesn’t recognize a particular camera model, it may produce a file with a color cast or skip it entirely. Before a large batch, run a couple of frames from every camera used on the shoot.
How to store your originals
Treat RAW like film negatives: keep them for the long haul and unchanged. A few rules that will save you headaches:
- Don’t delete RAW files after conversion if the frame has any value at all. Converters keep getting better, and the same file will yield more a few years from now.
- Keep developed JPEGs and TIFFs separate from the originals, in a parallel folder structure with the same names.
- Don’t overwrite the RAW files themselves. Most programs store development settings in sidecar files or their own database.
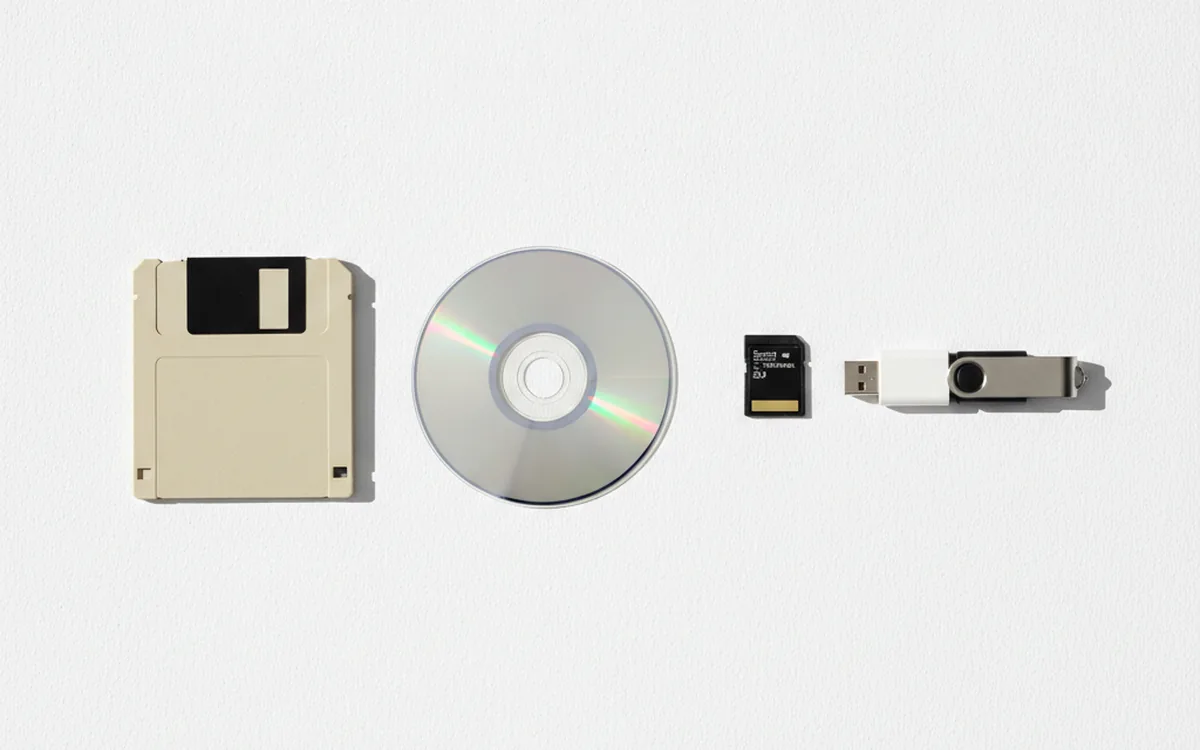
- For old and rare formats, make an extra copy in DNG. Keep the native file, and let the DNG serve as insurance in case support for an older camera stops being updated.
- Verify your copies. A corrupted RAW often still opens via its embedded preview, even though the sensor data inside is already damaged.
The bottom line
RAW isn’t a picture; it’s a sensor recording with decisions deferred. High bit depth and flexible white balance give you editing headroom, and batch conversion means you don’t pay for that headroom with your time. Keep your originals untouched, convert for each purpose into separate folders, and check support for new cameras before you kick off a large batch.