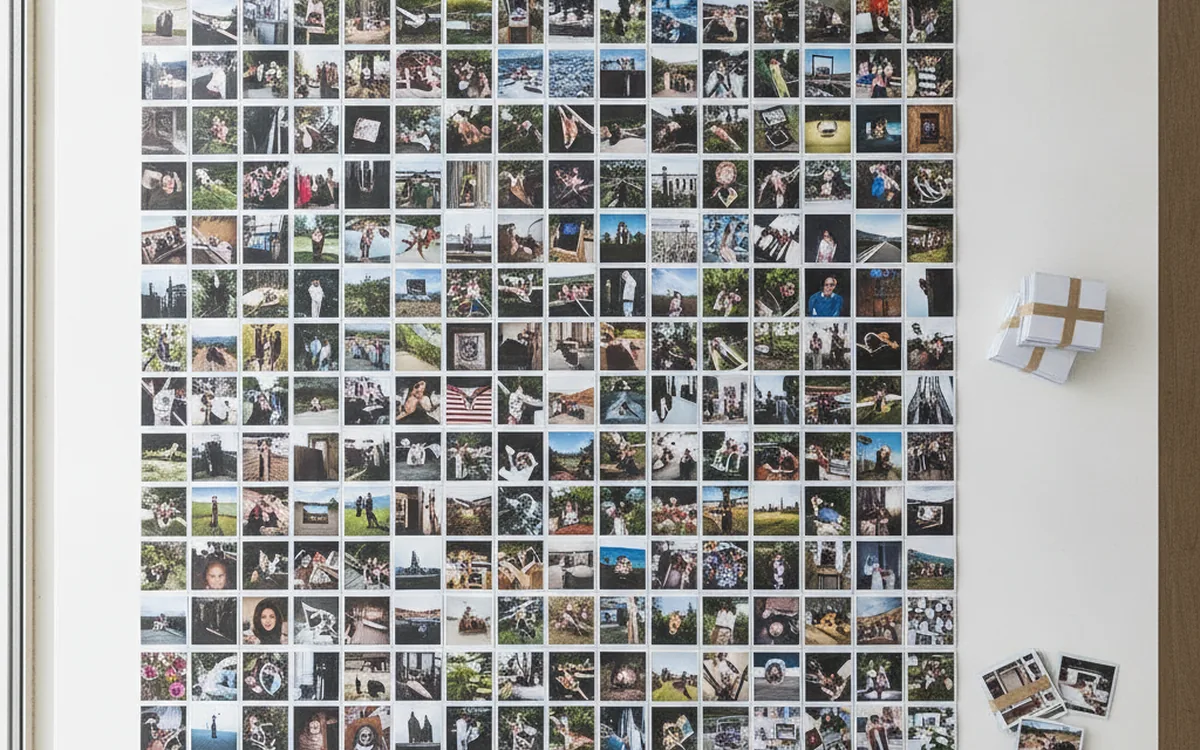
Editing one shot takes a minute. Editing three hundred shots for a product catalog with identical requirements takes all day, and by evening your focus slips: you forgot to sharpen here, saved at the wrong size there. Batch processing solves exactly this: you describe what needs to happen once, and the program repeats it for every file with zero drift.
The key word here is “script.” Not a macro recorded from mouse movements, but an explicit list of commands with parameters that you can read, fix, save, and run again six months later.
What a command script is
A script is an ordered sequence of operations. Each command receives the image from the previous one and passes the result to the next. A typical script for an online store looks like this:
- Rotate based on EXIF data so portrait shots stand upright.
- Crop the margins to the target aspect ratio.
- Downsize to the required width.
- Apply light sharpening (after downsizing, not before).
- Save as JPEG at the chosen quality.
Order matters. Sharpening applied before downsizing is largely lost when the pixels are resampled; sharpening applied afterward gives a crisp result at the final size. Color correction belongs before compression, not after. PhotoBatch has 91 commands, from geometry and color to text and borders, and the habit of sketching a five-to-seven-line script on paper first saves a lot of reruns. If you can’t explain a script to a colleague in thirty seconds, it should probably be split in two.
Absolute vs. relative values
Most parameters can be set in two ways. Absolute values are given in pixels: a width of 1200, a 20 px margin, 24 px text. Relative values are given as a percentage of the source image size: downsize to 50%, a margin of 2% of the width.
Absolute values work well when the result has to fit a fixed format: a product card, a slot on a website, a thumbnail. Relative values save the day when your input files vary in size. If one folder holds photos 6000 px wide and scans 1800 px wide, a 40 px border will look thick on some and barely visible on others, while a 1.5% border looks the same on all of them.
Example: a caption
A 36 px copyright caption looks neat on a 2000 px-wide photo and turns into specks of dust on a frame from a full-frame camera. Set the text size and edge offset as percentages, and you get a caption that reads the same on any source. The same goes for margins, shadows, and stroke width.
When to mix them
A combination is often the most convenient: a relative operation first brings mixed files to a common baseline, then an absolute one produces the exact size. For example, a center crop to 4:3, then downsizing to 1600 px wide.
Test on a sample
A script run straight on the whole folder almost always reveals its mistake only after it has finished. So before the full run:
- Pick three to five files that represent the edge cases: the largest, the smallest, a portrait shot, a dark one, one with an unusual aspect ratio.
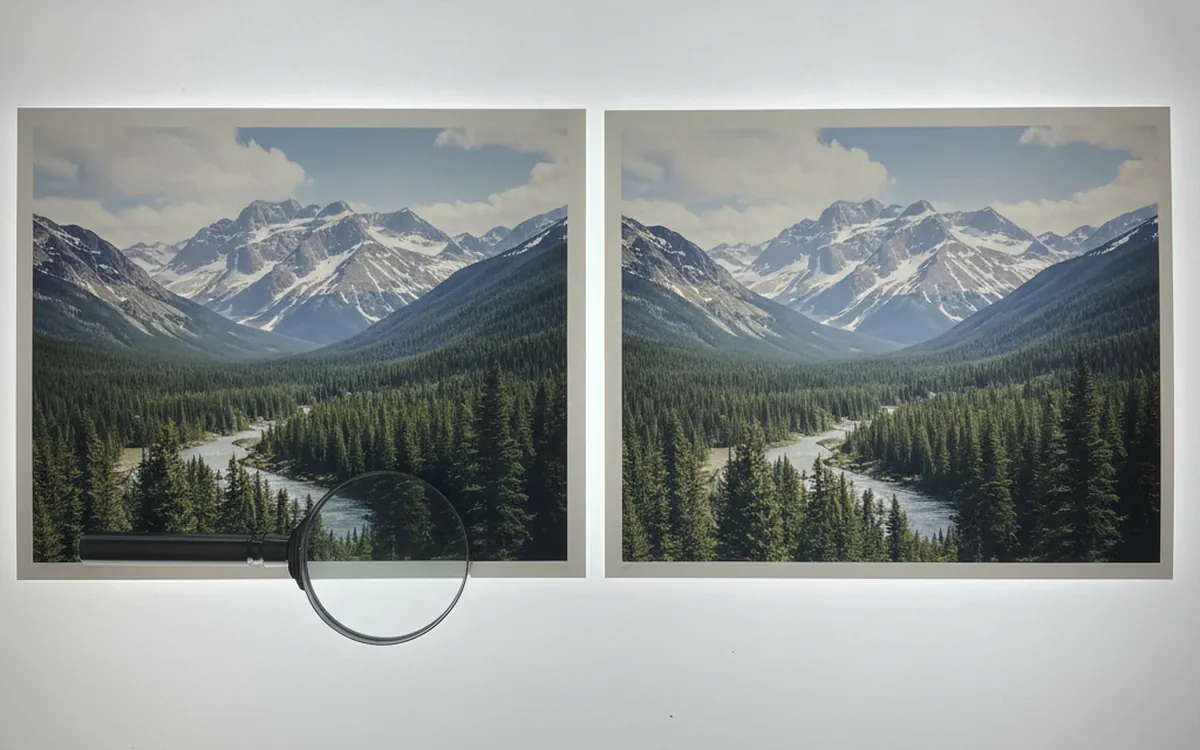
- Run the script on just those and inspect the results at 100% zoom.
- Check the metadata: were the capture date and color profile preserved, if the recipient needs them?
- Only then run the full batch, and always into a separate output folder.
Pro tip. Never write output over your source files. Even if the script is tested, one day a file it’s wrong for will end up in the folder, and the original will be gone. A separate output folder costs a couple of gigabytes of disk space, and it’s the cheapest insurance there is.
Filtering input files
A real-world folder is rarely uniform. Next to the photos sit screenshots, icons, thumbnails, old versions. Filters point the script only at what matters:
- File type. For example, process only RAW and TIFF, skipping finished JPEGs.
- Date. Only shots after a certain day, so you don’t reprocess work that’s already delivered.
- Size. Skip anything below a given width: you can’t make a print version from small files, and it’s better to find out right away than from a print shop’s complaint.
- Aspect ratio. Separate portrait frames from landscape ones and process them with different scripts if they need different crops.
PhotoBatch reads 10 common formats plus RAW files from Canon, Nikon, Kodak, Fuji, Olympus, Pentax, and Sony cameras, so a file type filter is especially useful in folders fresh off a shoot, where RAW and JPEG files sit in pairs and there’s no need to process both.
Multiple outputs and clear file names
Multiple outputs from one file
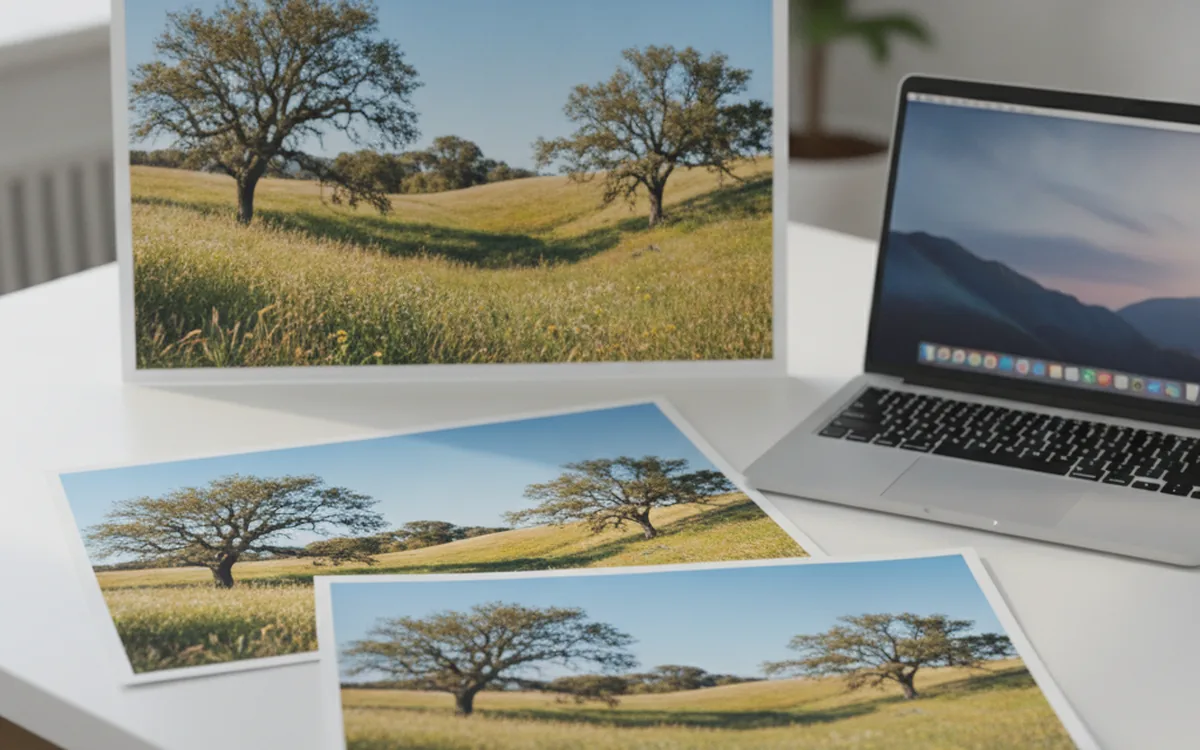
A single source is often needed in several forms: a large JPEG for the client, a smaller version for the website, a square thumbnail for the catalog. Instead of three separate runs, the script can save intermediate states. The image goes through the shared part of the processing (rotation, color, retouching), gets saved at full size, then is downsized and saved again, then cropped to a square and saved a third time.
The win isn’t just speed. Every version is guaranteed to come from the same state of the image, so you never end up with a thumbnail made with the old color correction while the main file has the new one. If you later need a fourth version, say for print, just add one more “resize, save” pair of commands to the end of the script, and all the existing outputs stay exactly the same.
Renaming
Names like IMG_4821.JPG mean nothing to a client or to a website’s content management system. Renaming is best done in the same run as the processing:
- Prefix: a project code or SKU, for example spring-catalog_.
- Suffix: a version tag, for example _web or _thumb, so different outputs from the same file don’t overwrite each other.
- Auto-numbering: sequential numbers with leading zeros (001, 002, 003), so files sort correctly in any file manager.
Think the naming rule through before the first run: afterward you’ll have to explain it to everyone who has already downloaded the files. A good test: the file name alone, without opening the file, should tell you which project it belongs to and what it’s for. If the names are going on a website, stick to Latin letters, digits, hyphens, and underscores, with no spaces.
For one-off renaming jobs without any processing, the separate BatchRename utility comes in handy: it renames groups of files using the same rules without touching their contents.
The bottom line
A good batch processing script is short, readable, and tested on awkward samples. Relative values make it resilient to mixed sources, filters cut out what doesn’t belong, multiple outputs spare you repeat runs, and a well-thought-out naming scheme saves time for everyone who works with the result. Save a script that works under a clear name: the task will almost certainly come up again.