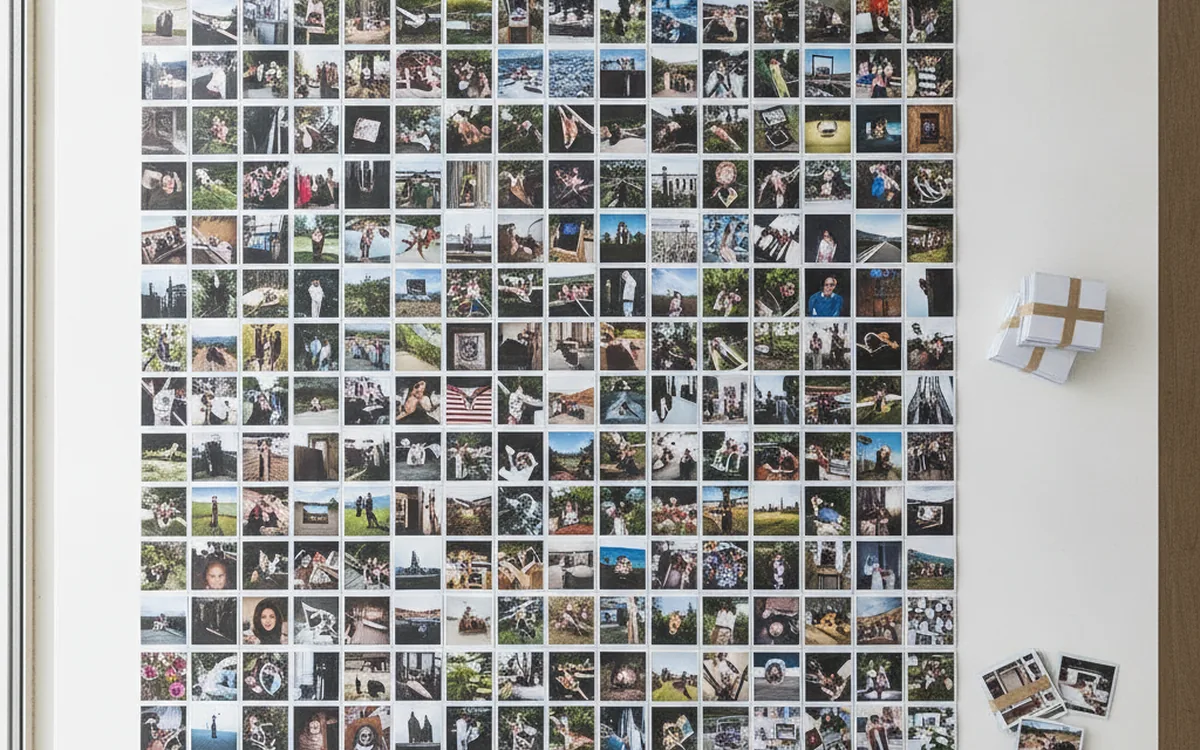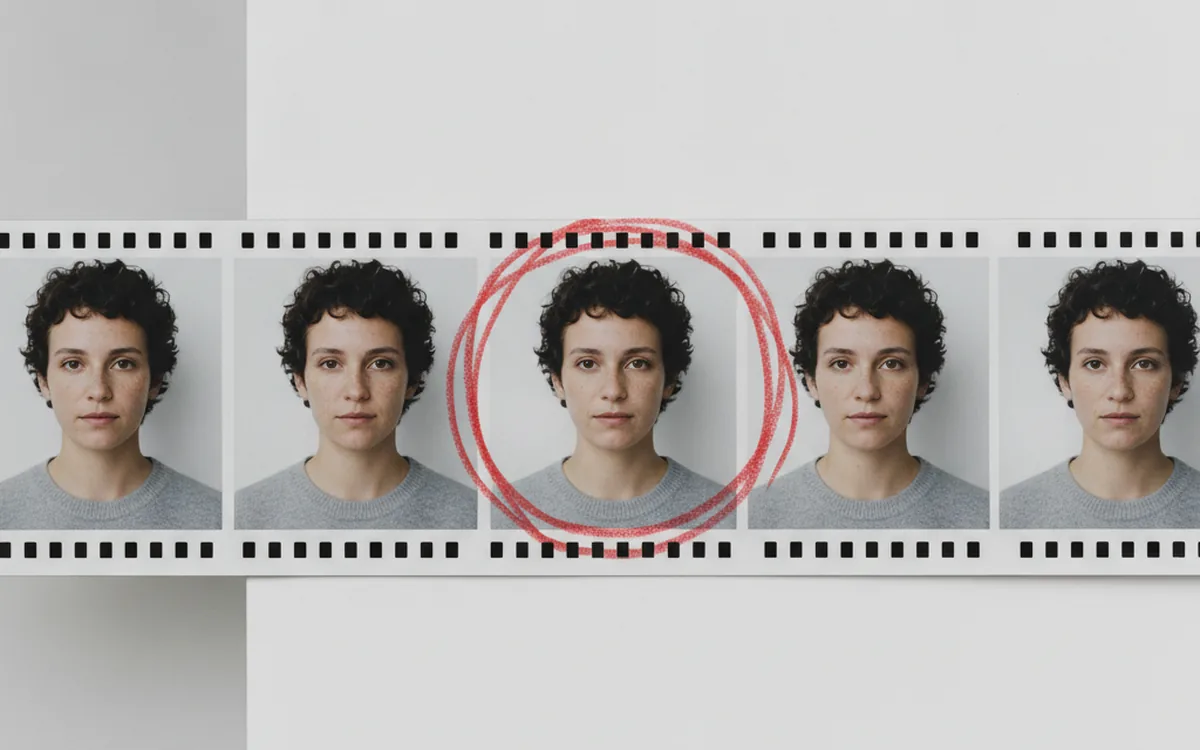
Burst mode is the reason you got the shot. It’s also the reason you came home with 2,000 frames instead of 200. A kid blowing out candles, a dog catching a ball, a bird taking off: modern cameras fire ten, twenty, or more frames per second, and phones quietly save bursts and “live” variations too. Exact duplicates are easy to remove. Near-duplicates, the twelve almost identical frames of the same moment, are where archives actually bloat.
Culling them is a different task from deleting duplicates. You’re not removing copies; you’re making choices. This guide covers how to group similar shots, how to pick the keeper quickly, and how to remove the rest without regretting it later.
Exact Duplicates vs. Near-Duplicates
An exact duplicate is the same file twice: identical bytes, usually the result of importing a card twice or merging backups. Software detects these with a checksum, and there’s no judgment involved. Keep one, remove the others.
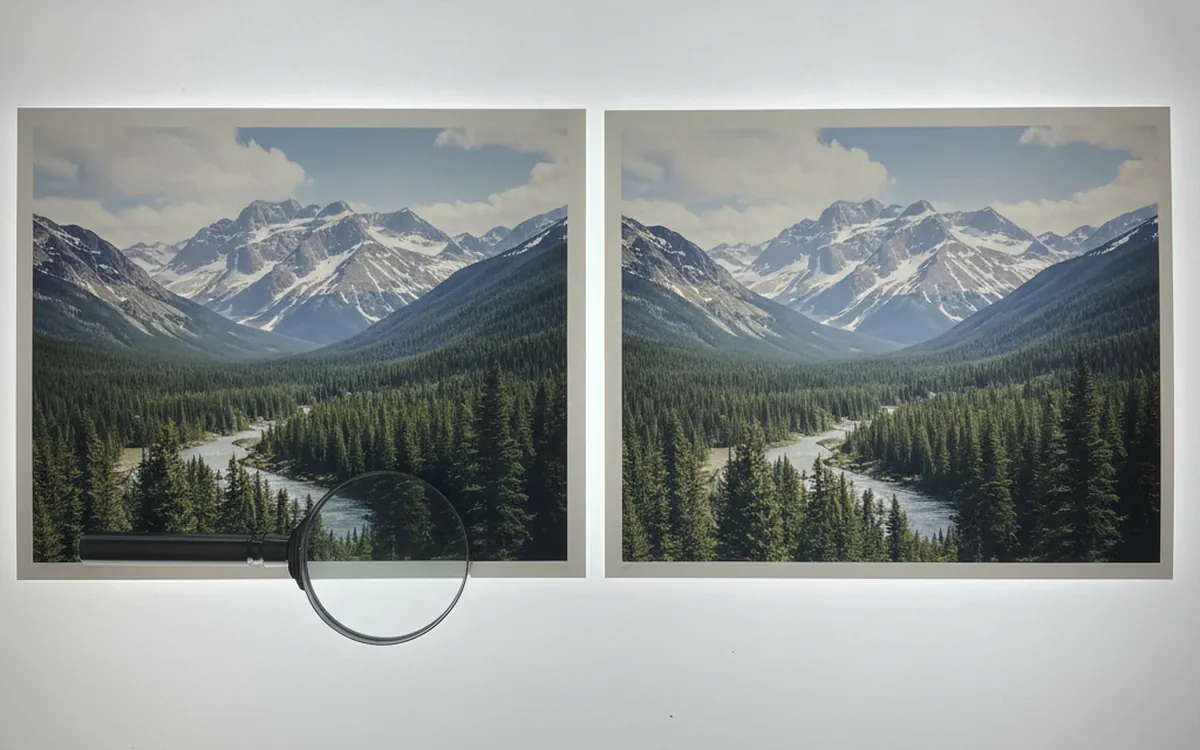
A near-duplicate is a different photo that looks almost the same. Burst frames differ by a few milliseconds of motion. Bracketed exposures differ in brightness. A resized or re-saved copy differs in pixels but shows identical content. Byte comparison sees these as unrelated files, so finding them requires comparing what the images look like.
The usual technique is a perceptual hash: the image is shrunk to a tiny grayscale version, and a compact fingerprint is computed from its structure. Two photos with similar fingerprints look similar to a person. The difference between fingerprints is a number, and that number is what a similarity threshold acts on.
Setting the Similarity Threshold
The threshold decides how alike two images must be to land in the same group. There’s no universally right value, only a right value for the material in front of you.
Tight Thresholds
A strict setting groups only images that are nearly indistinguishable: resized copies, re-saved JPEGs, consecutive burst frames of a mostly static subject. Groups are small and accurate. You’ll miss some related frames, but almost everything grouped truly belongs together.
Loose Thresholds
A relaxed setting catches more: frames where the subject moved, slight reframing, different exposures of the same scene. It also produces false matches. Two shots of a white wall, or several photos of the same tripod-mounted landscape across an hour, may be grouped even though you want to keep each one.
A sensible way to calibrate:
- Pick one folder with a known burst sequence and a few unrelated shots.
- Start strict and loosen step by step.
- Stop when real bursts are grouped completely and unrelated photos are not yet pulled in.
- Use that setting for similar material, and recheck when the subject changes. Studio product shots and street photography behave very differently.
DupDetector lets you adjust the threshold and see the groups update, which makes this calibration a matter of minutes rather than guesswork.
Grouping by Time
Visual similarity alone has a blind spot: it doesn’t know when the photos were taken. Time is a powerful second signal, because a burst is, by definition, a cluster of frames seconds apart.
Grouping by time works like this: sort photos by EXIF capture time and start a new group whenever the gap between consecutive frames exceeds a set interval, say two or three seconds. Each group is a candidate moment. Then apply visual similarity within each group to split moments where you turned the camera to a different subject mid-sequence.
Combining both signals solves the problems each has alone:
- Time only lumps together unrelated subjects shot in quick succession.
- Similarity only merges the same view photographed at different times, like a window seat across a long flight.
- Time plus similarity gives groups that match what you’d call “the same shot” when looking at them yourself.
Make sure capture times are correct first. If two cameras weren’t synchronized, their frames of the same moment won’t cluster.
Picking the Keeper
With groups in place, the real work is choosing. The goal is speed with consistent criteria, so you don’t agonize over every frame. Work through these checks in order, and most groups resolve within the first two.
1. Focus Where It Matters
Zoom to 100% on the subject’s eyes, or on the main point of interest for non-portraits. A frame that looks sharp at screen size can be soft where it counts. Motion blur from the subject or camera shake disqualifies a frame quickly. If your software offers a sharpness score, use it to sort, but confirm with your eyes: sharpness metrics measure edge contrast, and a crisp background can outscore a soft face.
2. Eyes and Expression
In photos of people and animals, closed eyes, half blinks, and awkward mid-word mouths rule out frames regardless of technical quality. In group shots, look at every face. Burst mode exists largely for this check.
3. Exposure
Compare highlights and shadows. Within a burst, exposure is often identical, but bracketed sequences and changing light vary. Prefer the frame with no clipped highlights on important areas like skin or white clothing; shadows recover better than blown highlights, especially from RAW.
4. Moment and Composition
Among technically equal frames, pick the peak of the action: the ball at the top of its arc, the wings fully spread, the genuine laugh rather than the one before it. Check for distractions at the edges and limbs cut awkwardly by the frame.
Practical tip: decide in two passes. In the first, mark only obvious rejects, such as blurred frames, closed eyes, and misfires. In the second, compare the survivors side by side and pick one keeper, plus at most one alternate. Choosing among three frames is fast; choosing among twelve is exhausting.
Quarantine, Don’t Delete
The fastest way to regret culling is to delete rejects immediately. Taste changes, clients ask for a different expression, and a frame you dismissed for a slight blur might be the only one where someone’s eyes are open. Recycle bins are emptied on schedules you don’t control, and external drives often bypass them entirely.
Instead, move rejects to a quarantine folder:
- Use one folder per archive, such as _quarantine, mirroring the original structure so each file can go back where it came from.
- Move RAW files, JPEGs, and sidecars together, so a restored frame is complete.
- Write a simple log of what was moved and when.
- Keep the folder for a fixed period, such as a month or until the project is delivered, then delete it in one deliberate step.
One caution about backups: if your backup software mirrors the archive, deleting the quarantine folder later removes those files from the mirror too. That’s the intended outcome, so be sure before you do it. A versioned backup gives you one more safety net.
A Culling Routine That Scales
For a typical shoot or trip, the whole process fits into a repeatable sequence:
- Remove exact duplicates by checksum.
- Correct camera clocks so capture times line up.
- Group by time, then refine groups by visual similarity.
- Pick a keeper per group using focus, eyes, exposure, and moment.
- Move rejects to quarantine with their sidecars.
- Delete quarantine after the holding period.
Done right after import, this takes a fraction of the time it would take months later, when you no longer remember which moments mattered.
The Bottom Line
Bursts and near-duplicates are a selection problem, not a storage problem. Calibrate the similarity threshold on your own material, combine it with time-based grouping, choose keepers by a fixed set of criteria, and park rejects in quarantine before deleting anything. Your archive ends up smaller, and every frame left in it is one you actually chose.