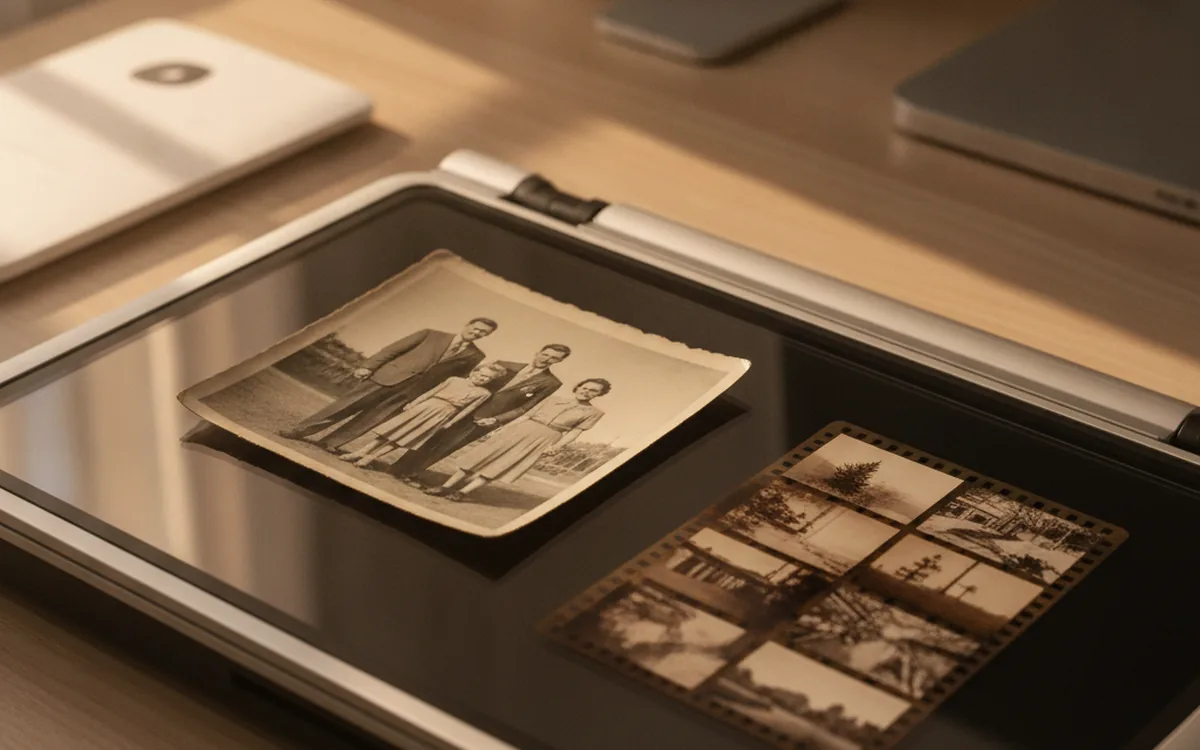
Scanning a family archive feels like a weekend project until you open the first shoebox. There are glossy prints in four sizes, a carousel of slides, strips of negatives in yellowed sleeves, and a few Polaroids nobody wants to touch. Each of them needs slightly different handling, and the decisions you make on day one decide whether the scans are still useful twenty years from now.
The goal is simple: scan each original once, at a quality that won’t make you regret it, and end up with files that are easy to find and honest about when the photo was taken. Everything below serves that goal.
Prepare the Originals Before You Scan
Every speck of dust on the glass or the film becomes a white dot or a dark hair in the scan, and removing it digitally takes far longer than preventing it. Spend ten minutes on preparation per batch.
- Wipe the scanner glass with a microfiber cloth before every session, and again when you see specks in the preview.
- Handle film and slides by the edges, ideally in cotton or nitrile gloves. Fingerprints on emulsion are permanent.
- Use a rubber hand blower on film and slides. Never use canned air at close range: the propellant can spit liquid onto the emulsion.
- Don’t try to wash or wipe prints. Loose dust can be brushed off with a soft, clean brush; anything stuck is a job for software later.
- Sort before you scan: group by medium and, as far as you can tell, by year or event. Scanning in a sensible order makes naming much easier.
Choosing the Right Resolution for Each Medium
Resolution is the decision people get wrong most often, usually by scanning everything at the same setting. The right number depends on how big the original is and how much real detail it holds.
Prints
A typical 4×6 print doesn’t hold much more detail than about 300 to 400 dpi can capture, but scanning at 600 dpi gives you headroom to crop and to print at twice the original size. For small originals, such as wallet photos, contact prints, and old square snapshots, go up to 1200 dpi so you can enlarge them meaningfully. Large prints, 8×10 and up, are fine at 300 to 400 dpi.
Slides and Negatives
A 35mm frame is only 36×24 mm, so it needs far more pixels per inch to produce a usable file. Scan 35mm slides and negatives at 2400 to 4000 ppi. At 4000 ppi, a 35mm frame comes out at roughly 5700×3800 pixels, which is about as much as typical consumer film actually resolves. Going higher mostly records grain more sharply. Medium format film, being much larger, is well served by 2400 ppi.
Bit Depth
Scan color in 48-bit (16 bits per channel) and black-and-white in 16-bit grayscale whenever your scanner allows it. Faded originals need aggressive color and contrast correction, and the extra tonal steps keep skies and skin from breaking into visible bands when you stretch them.
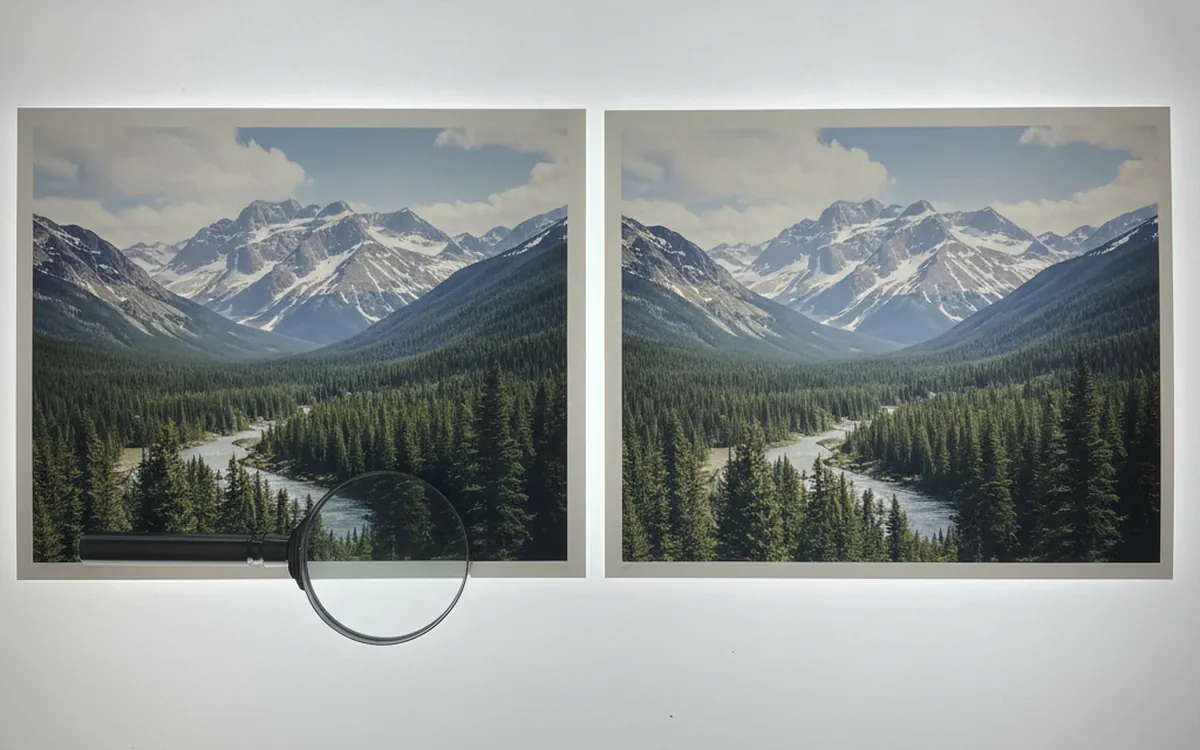
Practical tip: scan one test frame of each medium at two resolutions, then zoom to 100% and compare. If the higher setting shows only sharper grain and no new detail, use the lower one for the whole batch and save hours of scanning time and gigabytes of storage.
TIFF Masters and JPEG Copies
Treat every scan as two files with different jobs.
The master is the untouched or lightly corrected scan, saved as TIFF. TIFF is lossless, supports 16 bits per channel, and is read by virtually every image application and archive system. Use LZW or ZIP compression to save space without losing a single pixel. Masters are what you back up, and you rarely open them.
The access copy is a JPEG made from the restored master: 8-bit, sRGB, quality around 90, sized for sharing and viewing. It’s the file you email to relatives, upload to a family album, or set as a desktop background. If you change your mind about color or cropping, you regenerate it from the master instead of editing the JPEG again.
Producing access copies is a natural batch job. A PhotoBatch script can take a folder of TIFF masters, convert them to sRGB, resize them to a sensible long edge, and write numbered JPEGs into a separate folder in one pass, so the copies always match the masters.
Restoration in the Right Order
Order matters because some steps amplify the results of others. Sharpening before dust removal, for example, turns every speck into a crisp, high-contrast defect that’s harder to clean.
- Crop and straighten. Remove the scanner bed, mounts, and film borders, and fix tilt. Rotate in 90-degree steps when possible; free rotation resamples the image.
- Remove dust and scratches. Infrared cleaning such as Digital ICE works well on color negatives and most color slides, but not on traditional silver-based black-and-white film, and it struggles with Kodachrome. For those, clean manually.
- Correct color and tone. Old prints and slides fade unevenly, which is why so many 1970s photos have a magenta or orange cast. Set the black and white points first, then neutralize the cast using something that should be gray, such as pavement or a white shirt.
- Repair damage. Tears, creases, and missing corners come after color is right, so the patched areas match their surroundings.
- Sharpen last, and only for the output size. Sharpen access copies, not masters.
Keep the Restoration Reversible
Save the raw scan as the master and keep the restored version as a separate TIFF, or use an editor that stores adjustments as layers. Restoration tastes change, and software keeps improving. A raw master lets you redo the work in ten years without rescanning a print that may have faded further.
Naming and Dating Your Scans
A scanner stamps every file with the date of the scan, not the date of the photo. Without fixing that, your 1962 wedding photos will sort next to last Tuesday’s screenshots.
File Names
Use the same pattern as the rest of your archive: date first, then a short description, then a counter. For example, 1978-07_lake-tahoe_0012.tif. When you only know the year, write 1978-00 or 1978-xx consistently, so the file still sorts into the right year. Add a source tag if it helps, such as neg, slide, or print.
Metadata
- Write your best estimate of the capture date into the EXIF or XMP date taken field. Photo libraries and timelines sort by that field, not by the file name.
- Record uncertainty in the description or keywords, for example “circa 1978” or “date from slide mount.”
- Note who is in the photo while the people who know are still around to tell you. Names in metadata travel with the file; names in your head don’t.
- Slide mounts and envelope labels often carry processing dates. Scan or photograph them too and keep them next to the images.
Check Your Work Before Putting Originals Away
Before the shoebox goes back on the shelf, make sure the scans are complete. Count the files against the originals, spot-check a dozen at 100%, and confirm the masters open cleanly. Rescans happen, and they leave duplicates behind; running the folder through DupDetector catches the second and third attempts of the same print so they don’t end up in your archive twice. Then copy the masters to your backups the same day.
The Bottom Line
Good scans come from a short list of decisions: clean originals, resolution matched to the medium, 16-bit TIFF masters with JPEG copies made from them, restoration in a fixed order with sharpening last, and names and metadata that carry the real date. Get those right once and you’ll never need to pull the shoebox out again.